How to rebuild the terminal in pharos blueprint
How to Rebuild the Terminal in Pharos Blueprint
Overview
This article details the steps to
remove
and add a terminal
in the Pharos Blueprint
server.Procedure
Perform the following:
Step | Action |
|---|---|
1 | Delete the existing terminal. The printer will be removed from all of the print groups. 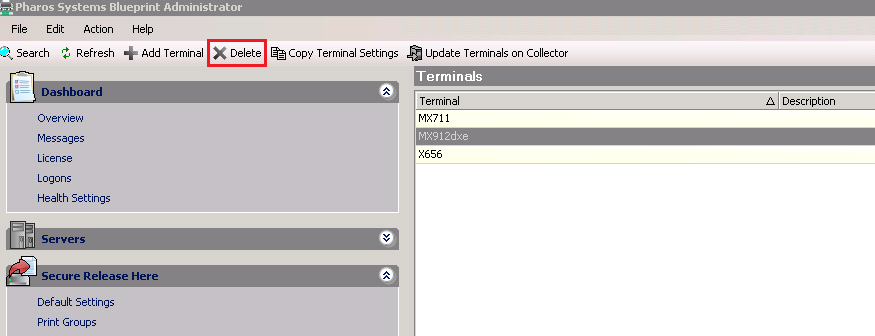 |
2 | Go to Pharos Systems Blueprint Administrator >Device Management >Devices , highlight the device, and then click on Create Associated Terminal .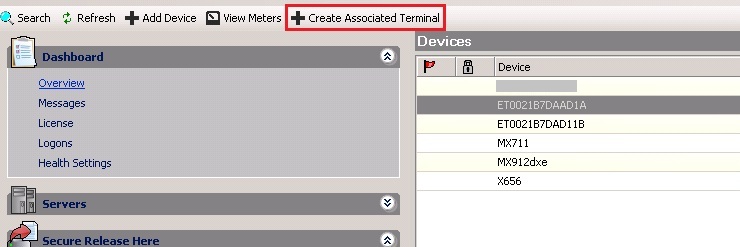 |
3 | Choose the terminal type . See Application cannot be accessed message displays after pressing the release station icon to view terminal types.The Terminal name in Blueprint has to be the same as the printer's hostname . Mismatches usually happen when you create terminals manually on client computers, which is not recommended.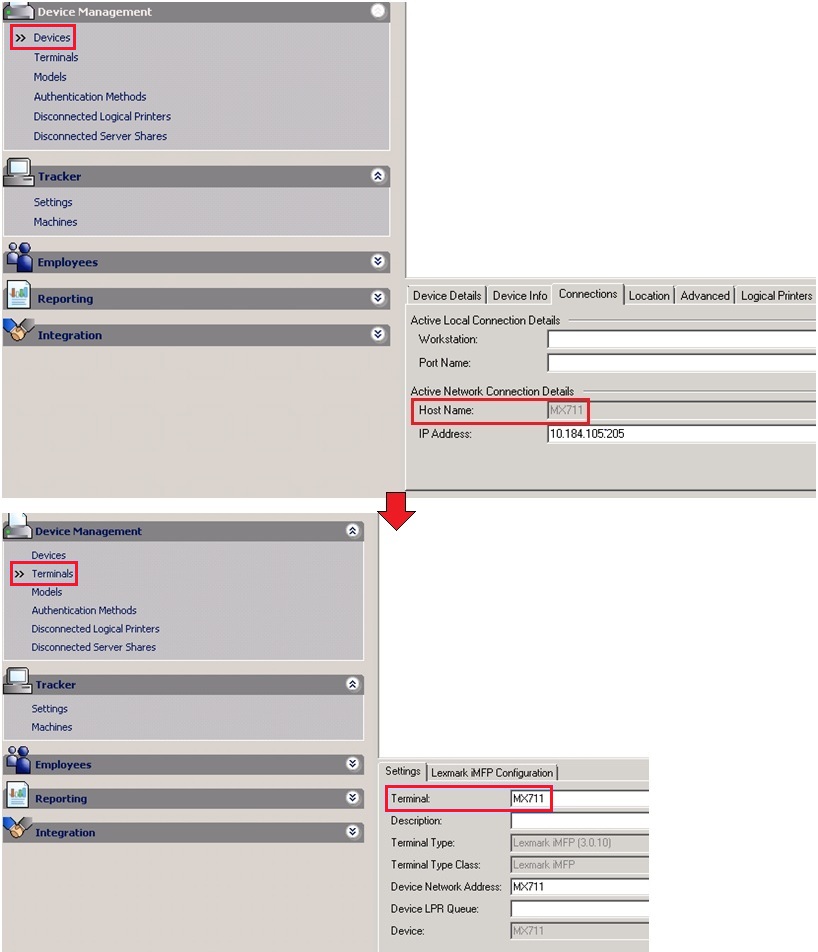 |
4 | Go to Pharos Systems Blueprint Administrator > Secure Release Here > Print Groups > Managed Devices > Add Managed Devices > search for your printer, and then add it to the correct print group.By default, creating a terminal places the device into the default print group . Add the printer back into the specific print group where it was before deleting the terminal.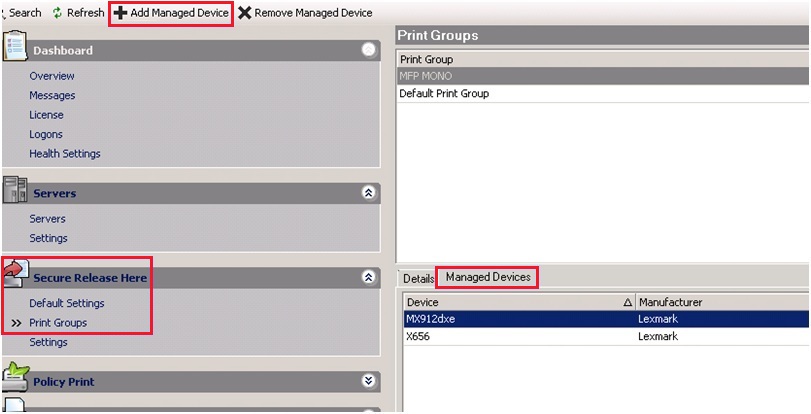 |
5 | Restart the eDAS and RegisterMe apps via the printer’s Embedded Web Server (EWS ) > Settings > Embedded Solutions or Device Solutions – Solutions (eSF) or Apps – Apps Management .Disable then enable the apps to restart. |
6 | On the analyst server , go to the Pharos Systems Blueprint Administrator > Servers , and click on the Clear Replicated Data button . While on collector server , go to the Pharos Systems Blueprint Administrator > Replication , and then click on all three available buttons .This will populate the settings update to the collector server. |
7 | Restart the printer and test again. |
LEGACY ID:
HO3969